Configuring Development Environment to Build Full-Stack Dapps
One nice thing about building full-stack applications from scratch is the flexibility. You are not limited to any one fixed set of tools, and can therefore go the pragmatic route of selecting:
a. What suits the job best
b. What you are most familiar with
c. A mix of the above
That said, because I am building my first-ever decentralized application (dapp), it would probably make more sense to reference what experienced dapp developers have already done rather than completely reinventing the wheels. With that in mind, I’ve decided to follow Nader Dabit’s tutorial to build out the skeletal structure, making minor modifications as necessary.
According to Nader, this is the list of tools I would need:
Prerequisites
- Node.js version
16.14.0or greater - MetaMask digital wallet installed as a browser extension
The Stack:
- Web application framework - Next.js
- Solidity development environment - Hardhat
- File storage - IPFS
- Ethereum web client library - Ethers.js
And just to avoid ambiguity, I should also list the below.
Operating System:
macOS (This is not a requirement at all. It just happens to be what I primarily use as a hybrid app developer.)
Now, time to jump right in!
Upgrading Node.js
A quick version check on Terminal showed that I needed a newer Node installation.
node -v
v12.13.0
Since I already had Homebrew installed, at first I figured I would just upgrade Node via Homebrew.
brew update
brew doctor
brew cleanup
brew upgrade node
brew link --overwrite node
sudo chown -R $(whoami) /usr/local
brew postinstall node
But then as I was troubleshooting some errors, I came across several articles which pointed out that nvm might be a more suitable choice for my project. For example, this article said:
Using nvm (Node.js Version Manager) makes it easier to install and manage multiple versions of Node.js on a single local environment. Even if you only need a single version of Node.js right now, we still recommend using nvm because it allows you to switch between different versions of Node (depending on the requirements of your project) with minimal hassle.
So I went ahead and installed nvm locally.
brew uninstall node
brew install nvm
Terminal had to be restarted afterwards.
Then I used the newly installed nvm to install Node.js once again.
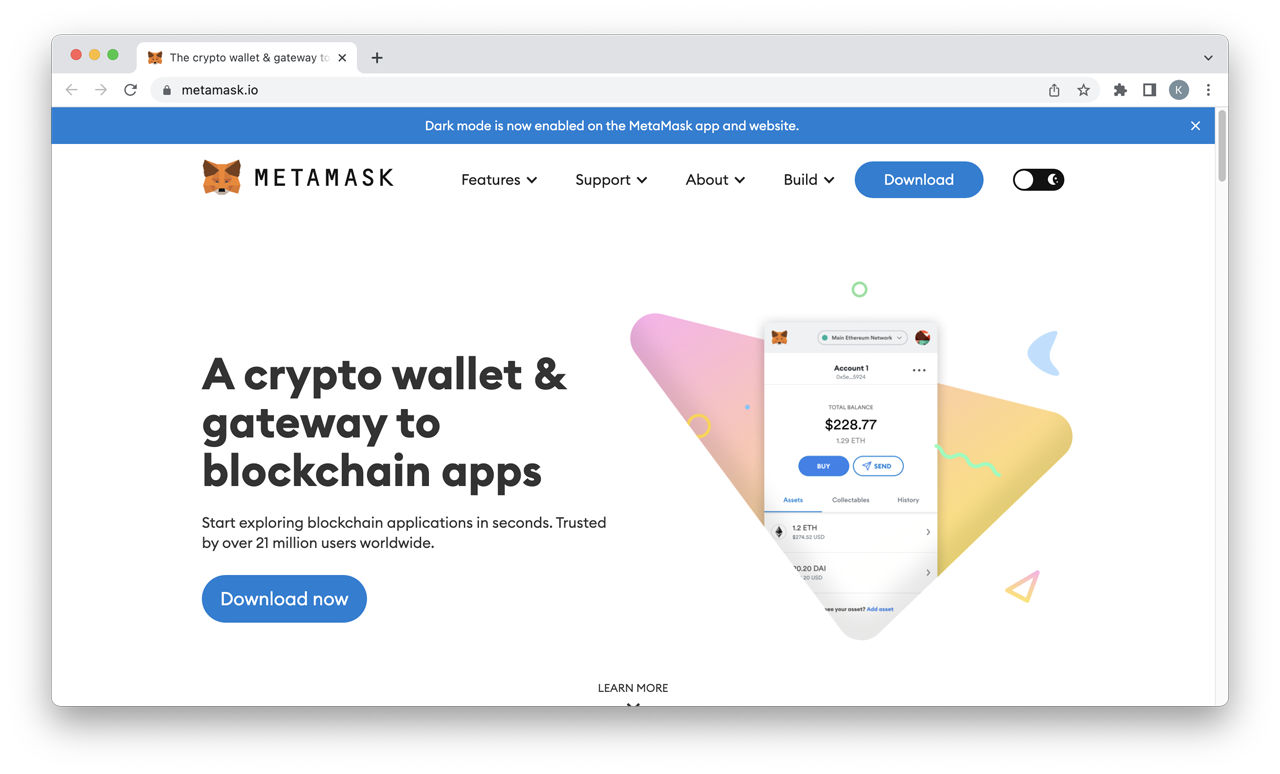
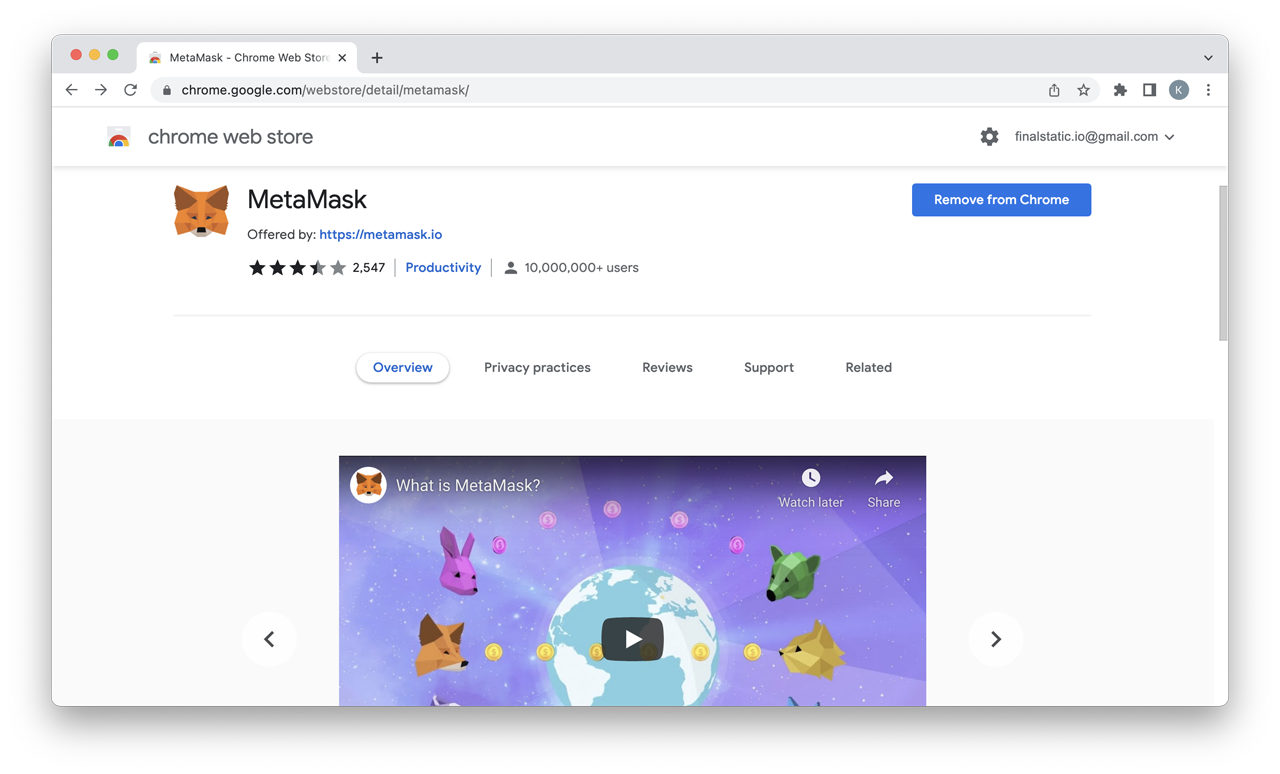
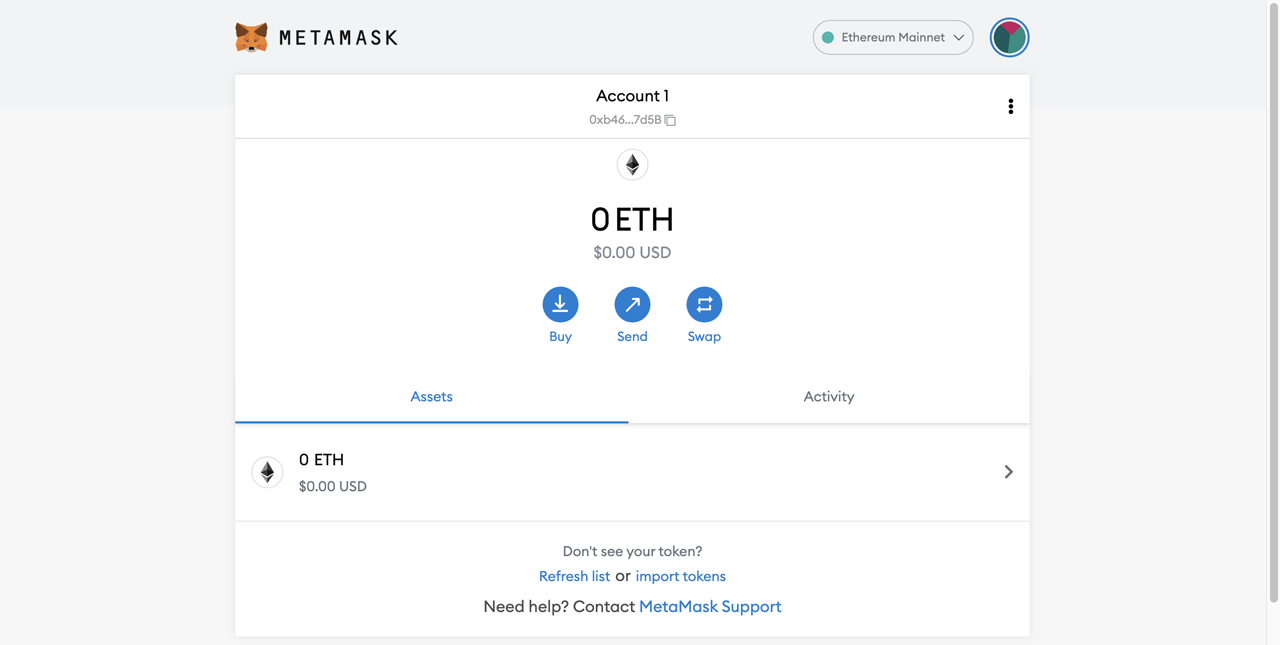
nvm install nodeInstalling MetaMask Extension for Chrome
What is MetaMask
MetaMask is a software cryptocurrency wallet used to interact with the Ethereum blockchain. It allows users to access their Ethereum wallet through a browser extension or mobile app, which can then be used to interact with decentralized applications (dapps).
In the next post, I will proceed to create a new application with Next.js.